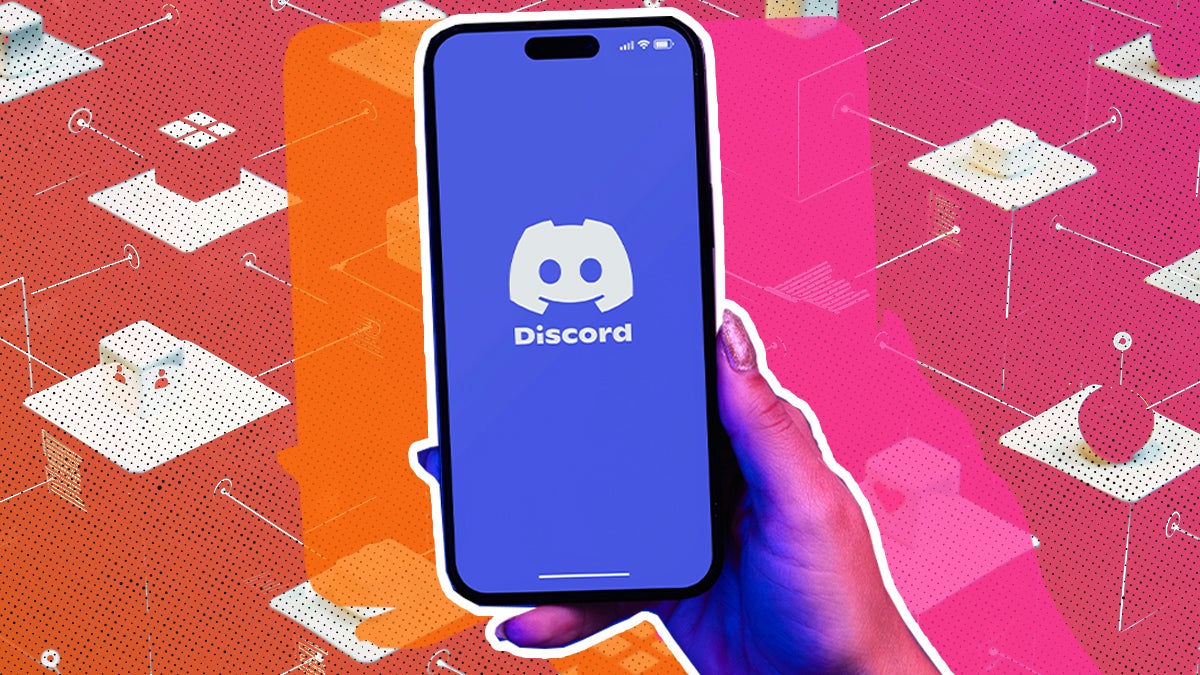
In the olden days of the internet, people spent a lot of time on message boards or forums. And while forums are still around, for better or worse, they’ve largely been supplanted by Discord. While it began as a service for gamers, Discord has grown into a widely-used chat app. Learning how to create a Discord server can help grow your audience.
You can use Discord for text chat, voice calls, hosting events, and a lot more. For content creators, creating a Discord server is a great way to give your fans a place to hang out. Here’s how to set one up and why you might want to.
How to Set up a Discord Server
Creating your own Discord server is quite easy. Before you start, you’ll need to have your own Discord account. If you don’t have one already, you can create an account on Discord’s site. Here are the steps to create a new Discord server.
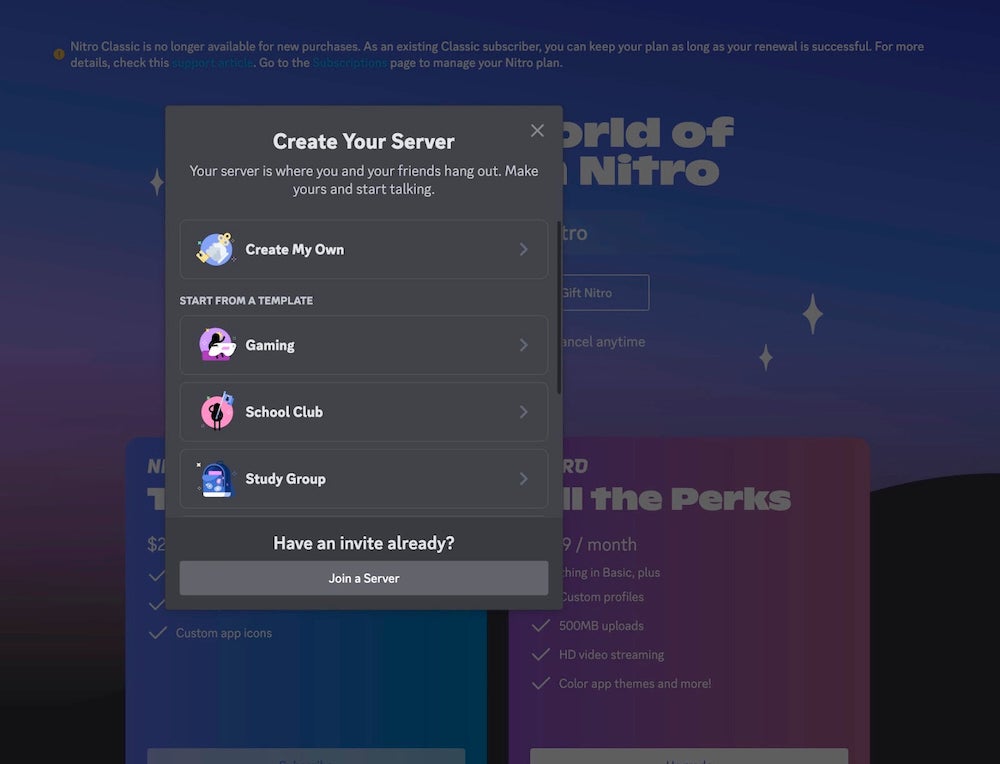
Step 1) On the left side of the Discord app, scroll down through your list of servers until you get to the + button.
Step 2) Select “Create My Own” and follow the prompts.
Step 3) Invite users to your Discord server by right clicking on your server’s icon on the left-hand side of the screen, then selecting “Invite People.” This will generate a link you can send to people in order to invite them.
You can set up invites in a few different ways. One option is to make your server open by allowing any member to send an invite link to anyone else. For most new servers, though, it makes more sense to restrict this ability to yourself. If anyone can invite anyone else, things can get out of hand very quickly.
Creating a Server Using a Template
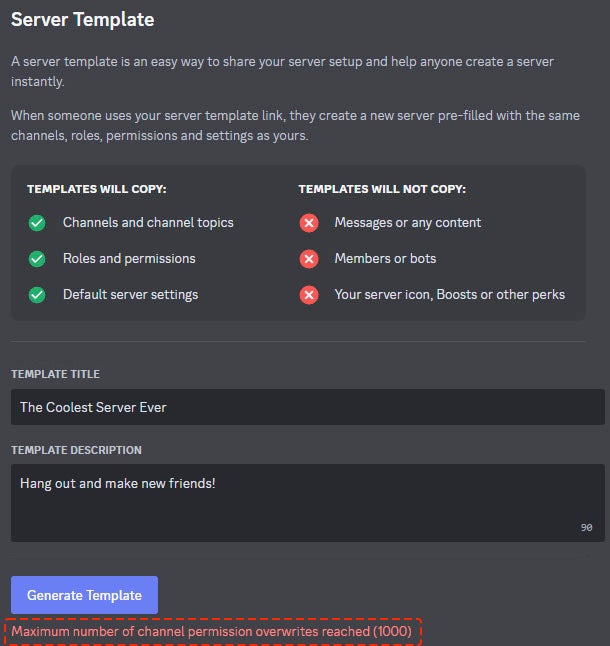
In addition to creating a Discord server from scratch, you can also use a server template. The owner or admin of a server can create a template, which you can then use to set up your own server. Templates copy channels and channel topics, roles and permissions, and default server settings.
They do not copy messages or content, bots, icons, or perks. They’re useful for getting a server set up quickly. However, they require that the server owner or admin you want to copy creates one first.
What are the Benefits of Setting up a Discord Server?
Unless you have a huge community, Discord servers tend to feel more exclusive than sites like Twitch. That can be beneficial because it can make your fans feel like they’re a part of a club rather than just following your updates. Of course, there are always trade-offs with this kind of thing, and it’s important to keep your personal boundaries in mind.
In addition to providing a space where your fans can chat with you and one another, Discord is a great place for hosting community events like Q&As or movie nights. You can use the voice chat and screen sharing features of Discord to create rooms where you can interact with your fans in real-time without the interruptions of ads that appear on public video streaming platforms.
Discord is also great for providing behind-the-scenes updates to your fans that you might not want to publish publicly. You should assume that anything you post to your Discord server could be posted more widely online.
Still, it’s a useful place to share in-progress projects, announcements, and things of that nature. You can also use Discord’s mention feature to directly notify your fans of timely events like livestreams. Just be sure not to overuse the “@everyone” and “@here” commands, as that can get a little irritating.
Is Creating a Discord Server Free?
Creating a Discord server is free. However, Discord uses a “boost” system to unlock additional server features.
Users who pay for Discord’s premium subscription, Nitro, receive a certain number of server boosts, but anyone can purchase them for a monthly fee. As a server receives more boosts from its members, it unlocks more features.
These range from more emoji slots to larger file uploads to server banners. While these features are nice, they definitely aren’t required. Don’t feel like you need to buy boosts for your own server to get them.
How Can I Improve My Discord Server?
There are all kinds of ways you can customize your Discord server to make it more fun and personal. You can start by changing the server icon and adding some custom emoji for your members to use.
You can also set up different channels for different kinds of conversations. Don’t go overboard, though — it’s better to have too few channels than too many. You can always add more as your server grows.
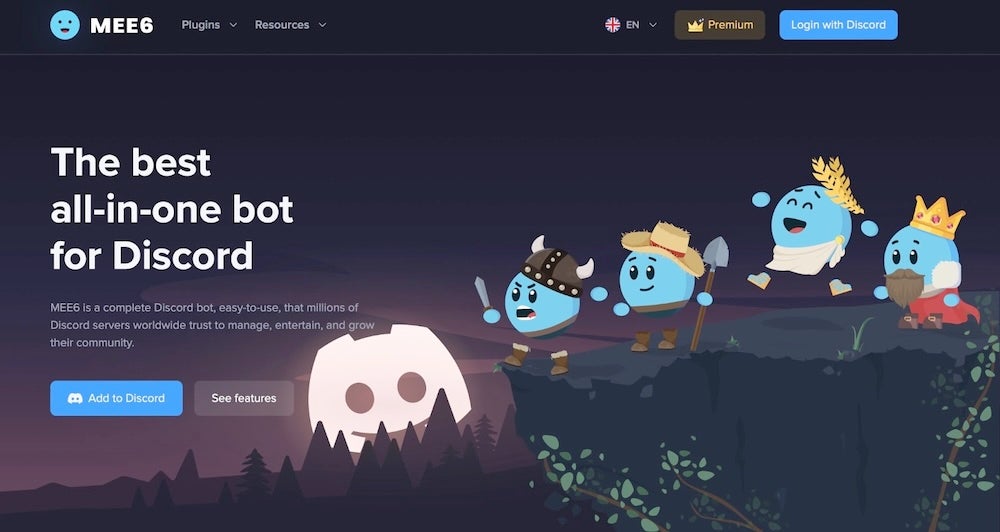
Additionally, there are a number of bots available that can add different features to your Discord server. There are too many to list here, but some of the most popular ones include Dyno, MEE6, and YAGPDB (Yet Another General Purpose Discord Bot).
Adding a bot to your server can do things like allow users to select their own roles, expand moderation capabilities, and even set up XP and level systems to incentivize participation on the server.
Discord can integrate with a number of other services in useful ways, too. For example, if you have a Patreon account you can make access to your Discord a perk of membership.
At first, you can probably moderate your Discord server on your own. But once your Discord community grows to a certain point, you’ll want to think more about deputizing other users you trust as moderators. On that note, be sure to set the rules of the space in advance.
Post them in an easily-viewable channel so that your users know what kind of behavior is out of bounds. Certain behavior is off-limits in any Discord server, but you might want to set specific rules, too. For example, maybe you have a “no memes” policy except for a certain channel.
Remember a Discord Server Is Basically a Chatroom
Creating a Discord server is a great way to make a space for your fans to hang out. It’s easy to be overwhelmed with all of the features and extensions available, but don’t stress about them too much.
At its core, a Discord server is simply a community chatroom. Start simple, and if your Discord server grows, you can always add more emoji, bots, and features later.

