Getting verified on social media is a great way to increase your visibility and solidify your voice as one that stands out from the crowd. The requirements are different on every platform and can change as the people running the show decide to try out new revenue streams, but for the time being, Instagram still has a pretty straightforward process for public figures looking to snag that coveted blue check. But it doesn’t hurt to have a little help getting everything lined up along the way, so let’s talk about exactly how to get verified on Instagram.
What is Instagram verification and why does it matter?
Having an account verified is meant to be a straightforward way to let people know Instagram has confirmed that said account belongs to the person or company it’s claiming to represent. Verification has generally been used to help differentiate the real accounts of famous people or prominent brands from the fan accounts, impersonators, parodies, or other accounts that may cause confusion.
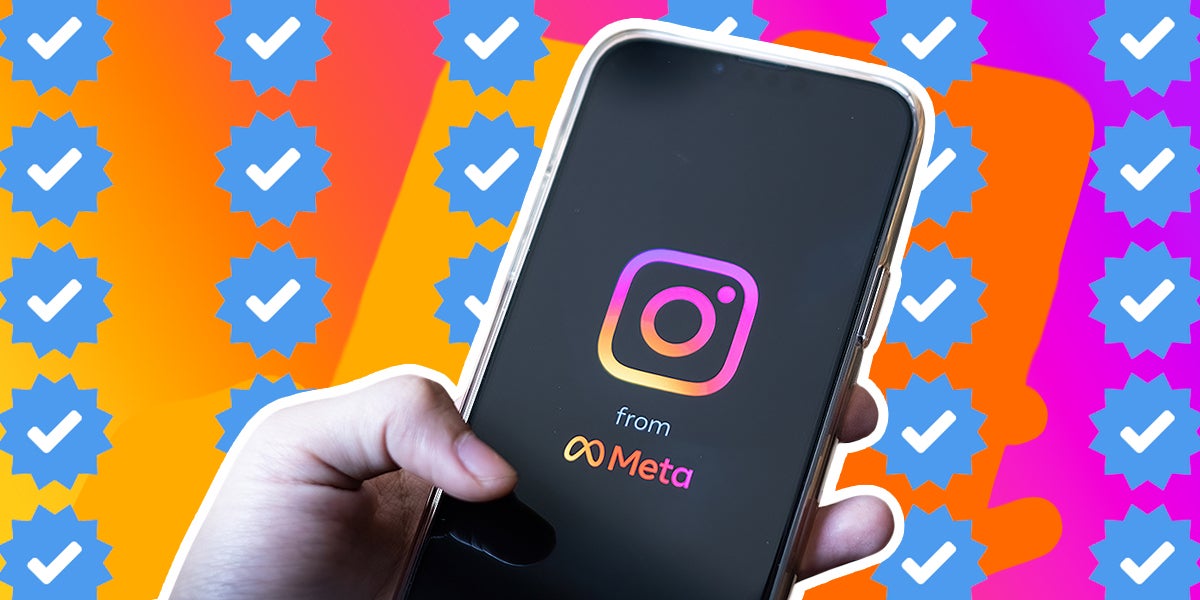
Practically speaking, verification looks like a small blue badge with a check inside. Having this badge can help your account stand out, both in terms of appearing credible and in terms of how eye-catching the mark can be.
But being verified doesn’t quite carry the same weight that it once did, so let’s clear up some potential confusion about why that is first.
Instagram verification vs. Meta Verified
In February 2023, Meta began offering a program that allows users to pay for verification on Instagram and Facebook. Unlike Instagram verification, becoming Meta Verified doesn’t require subscribers to be a public figure, although they do still have to prove they are who they say they are, using a government ID that matches their account.
In return, they receive the exact same verification badge as verified Instagram users, as well as additional subscription-based services like increased visibility in the app and better customer service.
As of June, Meta Verified was still in the process of being rolled out to various countries around the world. It’s also worth noting that it’s currently available to individuals, but availability for businesses is currently limited.
How much does verification cost?
Subscribers to Meta Verified pay $11.99 per month on the web or $14.99 on iOS or Android.
Traditional Instagram verification, on the other hand, costs nothing, and you do not need to subscribe to Meta in order to be verified this way—assuming your account meets the qualifications.
What are the requirements for getting verified on Instagram?
There aren’t exact guidelines for what accounts qualify for traditional Instagram verification and which don’t, but the platform does provide some baseline requirements.
- Your account has to be authentic. You’re either the person you’re representing yourself to be, or represent the brand or business listed on the account.
- You only have one verified account. After all, the point of verification is to say “This is the correct Instagram for this person/business.”
- You’re a “well-known, highly searched-for person, brand, or entity.” Traditionally verified accounts are meant to prevent impersonation, which suggests that in order to need verification, you or your company should be someone others would have a reason to try to impersonate.
- Your account has to be set up. Instagram requires accounts to already be public and active, with a bio and profile photo, upon applying for verification.
- You follow Instagram’s Terms of Use and Community Guidelines.
Do you have to be famous to get verified on Instagram?
This is where things get a little tricky. Everyone’s definition of “famous” is subjective, but you don’t have to be famous to qualify for verification, exactly, nor do you have to hit a specific threshold of followers.
You do have to be some sort of public, newsworthy figure—this could mean anything from being an actor to a journalist to a business owner, and of course, the list doesn’t stop there. Essentially, if you’re the sort of person who might be at risk of impersonation, you also might be eligible for verification.
How do I get verified on Instagram?
If you feel like you fit the requirements listed above and want to go ahead and apply for Instagram verification, you can easily do so in the app.
Step #1: While logged into the account for which you want to request verification, navigate to your profile page by tapping on the circular picture of you in the bottom right corner.
Step #2: On your profile page, tap the three horizontal lines in the top right corner. This will take you to the Settings and Privacy page.
Step #3: Scroll near the bottom of the page. In the category labeled For professionals, tap on “Account type and tools.” You will see an option there to either Request verification or Sign up for Meta Verified. We want to focus on traditional Instagram verification, so tap “Request verification.”
Step #4: Now Instagram will walk you through the steps required to submit your request, starting with confirming your personal information:
- Ensure your Instagram username is the one you want (you won’t be able to change it if you are verified)
- Provide your full legal name or business name
- Upload one of the accepted documents verifying your name/business name: driver’s license, passport, national identification card, tax filing, recent utility bill, or articles of incorporation
Step #5: You’ll have to confirm your notability or the notability of your business by selecting the category in which you’re notable (eg sports, music, fashion, etc) and the country in which you are most well known. Here, you also have the option of describing the type of audience or followers you have and any other names you or your brand go by.
Step #6: Add links supporting your claims of notability. Instagram is particularly looking for news articles discussing you/your brand “to show your account is in the public interest,” although they will also accept other links that demonstrate this—as long as they aren’t paid promotions.
Step #7: Submit! You’re done!
What happens after you request Instagram verification?
Instagram will respond to your request within 30 days, with their decision appearing in the same Notifications tab where you see your likes, comments, and follows.
If you’re approved, you’ll see the blue badge show up next to your name. You won’t be able to change your username, as users could theoretically abuse that option and misrepresent themselves after being verified. The platform also cautions against switching your account between public and private too frequently, as verification is intended for public-facing accounts of public figures.
If Instagram denies your request, you’re allowed to resubmit your application after 30 days—although it would likely only be wise to do so if you have additional information to provide them or if something about your visibility has shifted since you last applied. And definitely don’t submit a follow-up request early, as all you’ll do is annoy them and get rejected again.
Tips for getting verified on Instagram
There isn’t a way to game the system to get traditional verification that isn’t deserved or needed, but there are things you can do or be aware of to up your chances of passing inspection.
1. Increase your follower count.
How do you prove you’re noteworthy to Instagram? Be popular on Instagram! But be sure you do this organically rather than trying to buy followers, as that’s likely to backfire.
2. Time your request strategically.
Instagram specifically stresses that being featured in multiple news sources has an impact on their review process. Is there a big announcement about a new project you’re working on coming up? Was your business profiled in a popular magazine? Did you have a viral moment covered by online publications? These are all great times to submit that verification request.
3. Get rid of links to other social media in your bio.
Instagram isn’t a fan of verified users linking to other social media from their page, outside of Facebook, so delete any attempts to redirect to TikTok or the like—at least for now. You can still include other types of links that aren’t intended to drive followers directly to a different social media platform.
4. Make sure your Instagram is in top shape.
Instagram isn’t going to decline verification to someone ultra-famous for having a poorly curated Instagram with no bio. But if you think you fall somewhere in a gray area and could be rejected, write a snappy bio and make sure you’ve got pics near the top that pertain to the field in which you’re trying to get verified—and that none of them run afoul of Instagram’s rules.
If things don’t work out for you the first time, wait those 30 days (or more) and try again. And if all else fails and you just really want that blue check, you can always try out the subscription to Meta Verified.