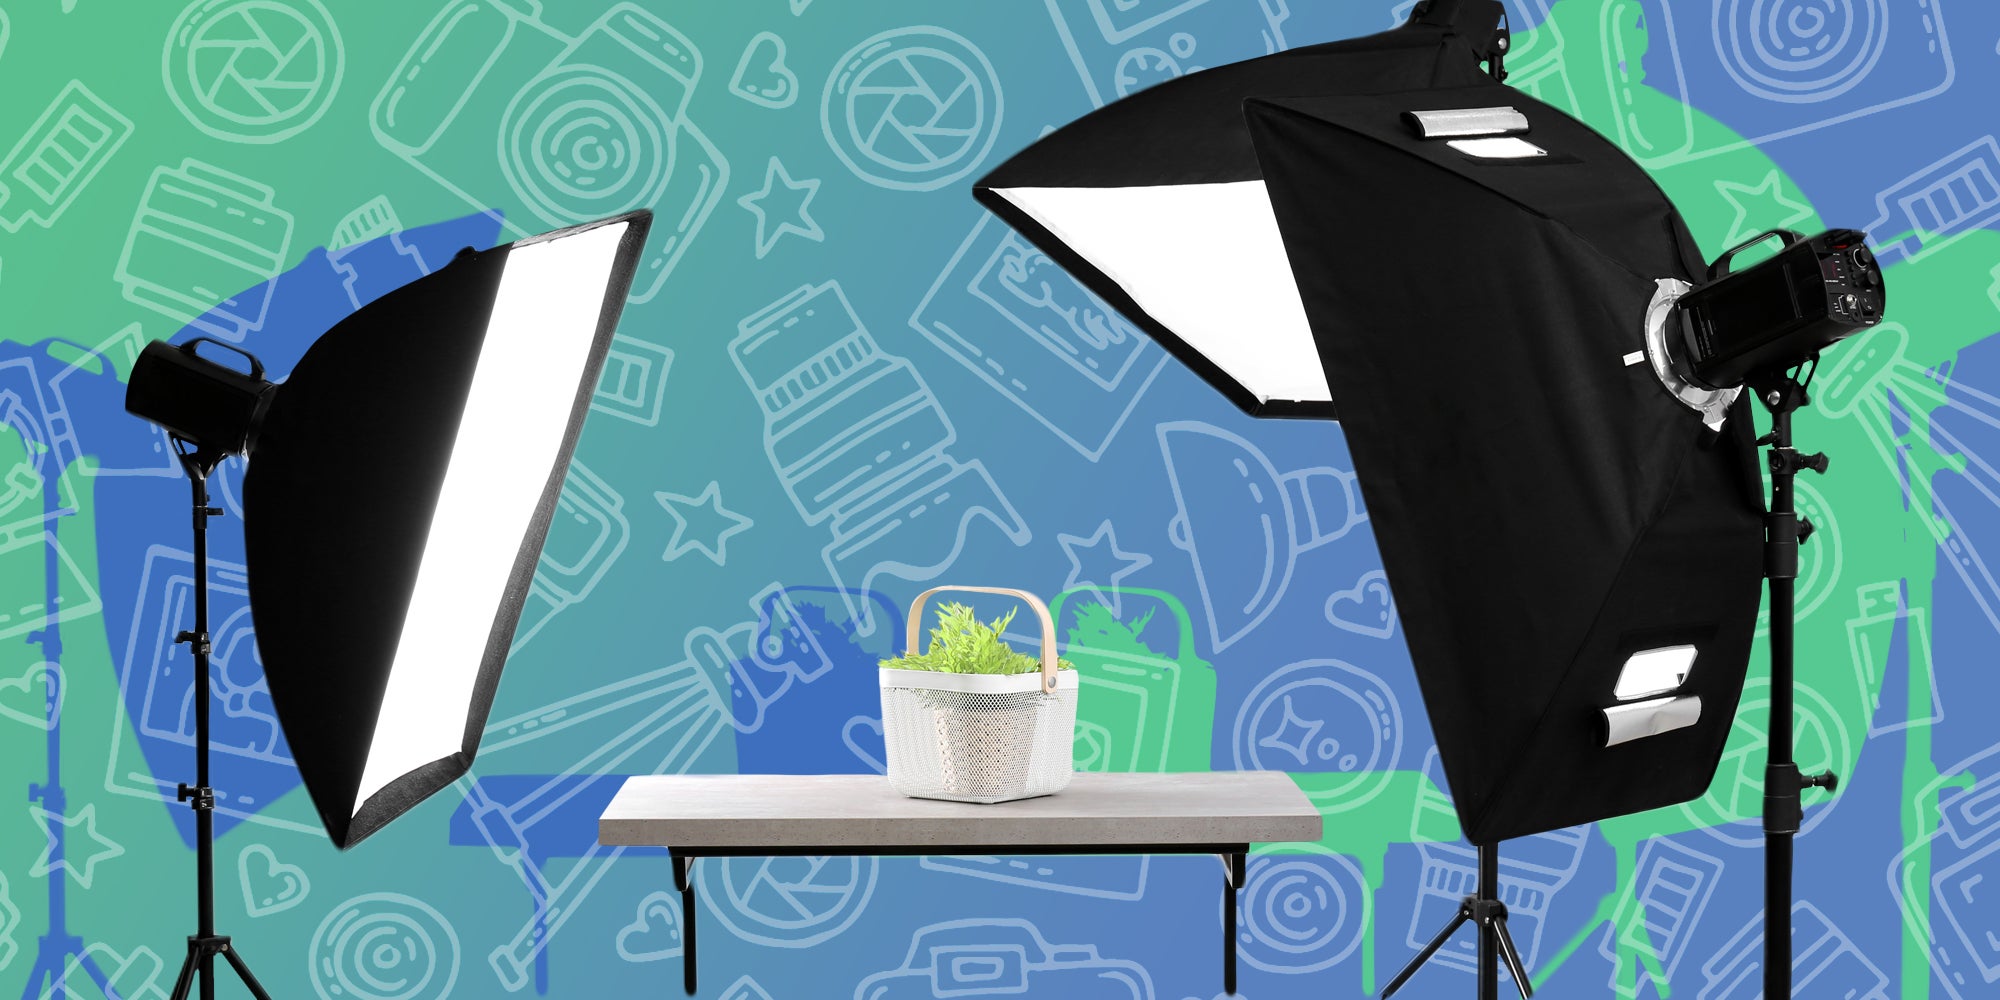
If you’ve ever tried to shoot video or take a photograph with a single source of light, you may have found yourself frustrated with the lack of control it leaves you over the scene. Three point lighting, on the other hand, provides the opportunity to better customize the lighting in any scene. Unfortunately, tackling 3-point lighting when you could just snap on a ring light and call it a day may sound daunting.
Fortunately, it’s not quite as overwhelming as it sounds, and anyone who wants professional-looking videos and/or photographs for their social media should very much join us on a quick dive into the wonderful world of lighting. If you need to set up lighting for YouTube or streaming online, 3-point lighting is the way to go.
What is 3-point lighting?
Three-point lighting is as simple to define as it sounds; it’s a method of lighting a scene using three light sources positioned strategically around the subject. This set-up is widely used among cinematographers and photographers and provides a foundation for achieving a wide variety of looks, spanning from the even tones of a YouTube tutorial to something far more dramatic, like a low-light alleyway confrontation in a movie.
The three point lighting set-up consists of the following:
We’ll talk more about the specifics of how to set these lights up and use them effectively later on.
- Key Light. The key light is the primary source of light, and the brightest, intended to cover a large amount of the visual space so that everything is visible before the other two lights are brought in to focus on the details.
- Fill Light. The fill light is added to chase away the pesky shadows that pop up in the most inconvenient places when you’re only working with a single light. And if you want those shadows, don’t worry, you can still achieve them, just in a more deliberate manner.
- Backlight: A backlight is set up somewhere behind the subject, and shines on them from that angle so as to provide dimension and make the subject stand out from the background.
We’ll talk more about the specifics of how to set these lights up and use them effectively later on.
Is the 3-point lighting setup the best? What are the benefits of the three-point lighting technique?
Having three lights allows for far greater levels of control over your set-up than a single light of any kind ever could. As each light can be adjusted individually, it’s easier to ensure details of your subject aren’t lost, muddied, or washed out just to ensure there’s enough light in general.
The three lights working in tandem can create visually intriguing depth and dimension manipulating the light and the shadows. This can be used to set tone, draw attention to specific details, or just give your video a genuinely professional look.
How to set up three-point lighting.
There is no one-size-fits-all option for setting up 3-point lighting. The look you’re going for, the equipment you have on hand, the natural light and colors of the room in which you’re shooting, and the skin tone of your actor (or yourself, as the case may be) all play into the specifics. But understanding the basic purpose and the basic set-up of each will at least give you a great jumping-off point.
Step 1: Setting up the key light.
The key light should be placed at about the same height as your subject, but in front of them at a 30 to 45-degree angle. This will help provide greater depth to the image while setting the overall tone. How far you place it away from your subject depends on your goals, but don’t be afraid to experiment.
Step 2: Bringing in the fill light.
As a general rule of thumb, your fill light should be about half the strength as your key light. It should also be placed on the other side of the subject, and again, at an angle. This is so that it can wash out any unwanted shadows, often on a person’s face.
Step 3: The backlight arrives.
Try starting with your backlight positioned opposite the key light, a little higher up, and directed at your subject—just don’t forget to check your frame to make sure it won’t be visible if it’s something you don’t want in your shot.
Step 4: Turn off all the lights.
Before you turn on the lights, you want to turn them off. Rather, if there are overhead lights or lamps or any other kind of ambient lighting in the room where you’re setting up, shut them all down. If there’s bright light streaming in from a window—especially if it’s going to shift positions as you film—you may want to block that out as well. Ultimately, the goal here is to create a lighting setup that you have as much control over as possible.
Step 5: Test and adjust.
If you haven’t already brought your subject in, now is the time. If you plan to record yourself, setting up can be faster if you ask a roommate or family member to help. They can sit in as the subject while you adjust the lights. Later, you will need to fine-tune the setup for your own height, skin tone, and any other differences from your stand-in.
This is the time when you can experiment with changing the angle, height, and brightness of your lights, as well as the distance from the subject until you find an arrangement that suits your needs and matches the tone or type of video you’re going for. Once you start to get a feel for how the three interact with one another and see the purpose each serves in action, you’ll also be better prepared to make more dramatic changes to your lighting set-up should a future project call for something different.
Tips for improving your 3-point lighting set-up
Getting the basics of this lighting arrangement down is the most important thing, but once you’ve managed that, there are even more ways you can control the minute details of your set-up and create visual interest.
1. Experiment with additional lighting gear.
If you aren’t achieving quite the look you want, you can bring in additional help, such as diffusers or reflectors. Diffusers soften the intensity of the light when placed in front of the source, whereas reflectors bounce light back onto the subject at a new angle. Both options can help reduce shadows even more. You can often do this yourself if you don’t have the right equipment.
2. Pay attention to color temperature.
You may be repurposing lights you already have around the house rather than running out to buy studio lights. Even if that suits your needs, you’ll want to pay attention to the color temperature of each of your lights, as mixing and matching can cause problems and make everything look weird. Lightbulb boxes usually have a color temperature range on them to help you match, but you can also just look to see whether the lights are warm and yellow, cold and blue, or somewhere in between. If your lights don’t match, you can look into color correction gels—or place something transparent and warm in front of your cold light, or vice versa, until they mesh.
3. Consider motivated lighting.
If you’re shooting a vlog or something else that would be best served with clean, even lighting, giving the impression that your light is coming somewhere natural for the scene, like an off-screen lamp, may not matter. But if you’re going for something more creative, it can help your frame look more cohesive and coherent if you trick viewers into thinking your lights are coming from someplace that would make sense, like that nearby window they don’t know you’ve thrown drapes over to control your lighting.
What is the difference between 3-point lighting and 4-point lighting?
Another thing you can do to up your lighting game is add a fourth light. Four-point lighting has the same foundation as 3-point lighting but brings an additional light in to highlight the background of the scenes. Similar to the backlight, this can create more depth and visual interest, and it can also draw attention to something else in frame, if you’d like.
What kind of lighting should I use as a content creator?
If you have the money and the space, 3-point lighting is the best way to go, even for content creators making short clips that don’t require particularly complicated lighting setups. Not only will it help your videos look professional and stand out from the crowd, but experimenting with this particular lighting set-up and coming to understand it will prepare you for if and when you truly need it.